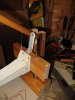
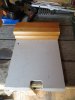
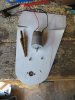
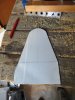
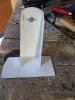
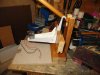
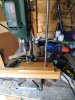
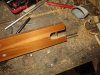
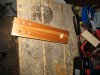
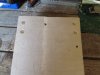
I took photo's as I went whilst making it, intending to write an
Instructable, but didn't get round to doing so. I thought I had a picture of it in it's final form which I posted in another thread quite a long whiles ago, but can't find it. So here's the pictures I took as I went along, but it doesn't have power connectors or chuck yet. I also added a microswitch to turn the motor on when the handle is pulled down, and off again when it goes up.
Notes:
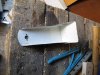
- I left the back part of the bracket with rectangular(ish) wings then cut them triangular after folding so I'd get the corners right.
- There is a spring under the sliding block on each post. Mine came out of cheap speed clamps that broke.
- The procedure for drilling the vertical holes was: drill one bottom piece and the sliding block, put a post in the hole to hold them together, drill the other hole, fasten the block down to the base and use it as a guide to drill through the bottom block.
- The pin on which the operating lever hinges is just a long wood-screw. I threaded a bit of aluminium tube onto it, which is now fixed into the lever
- I experimented with making sleeves out of sheet copper to go inside the holes in the sliding block, but it was more trouble than it was worth. so it's just plain wood sliding up and down the steel.


.JPG")
.JPG")
.JPG")
.JPG")
