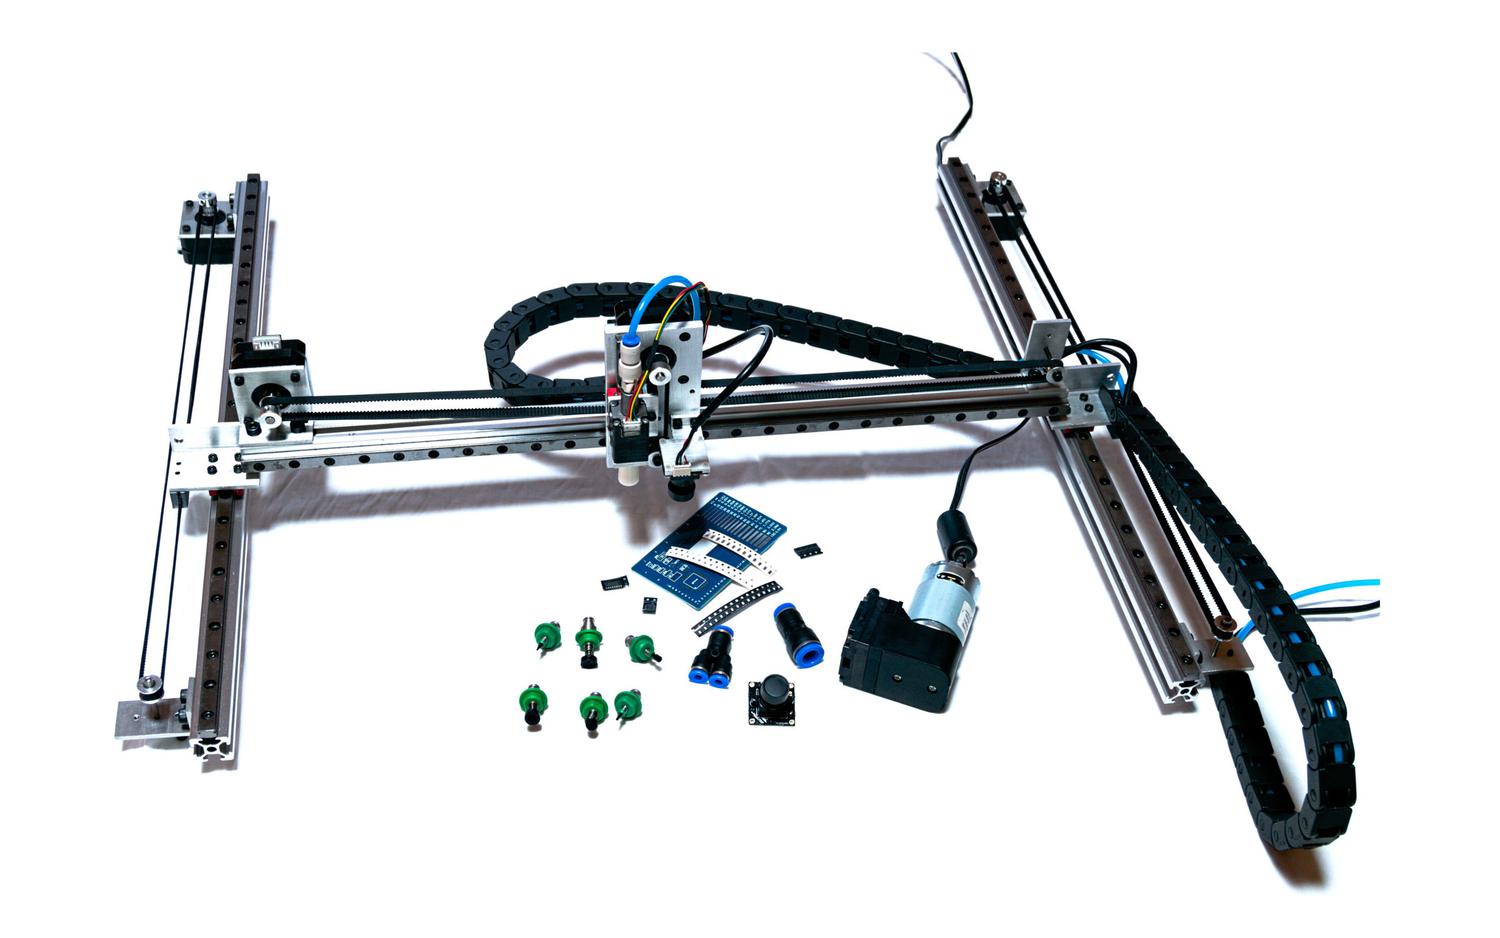
The manual pick & place tool I saw had a hole in the side to vent the vacuum to the atmosphere. When you want to pick up a chip, you cover the vent with your finger so you get vacuum to the tip / suction cup. To release the chip, take your finger off the vent. So a solenoid would open the vent to release the part when energized. Here is some G Code info on instructions you will need.
https://en.wikipedia.org/wiki/G-code
The NIST RS274NGC Interpreter explains G-Codes
The NIST RS274NGC Interpreter - Version 3
https://tsapps.nist.gov/publication/get_pdf.cfm?pub_id=823374
3.5.1 Rapid Linear Motion — G0
For rapid linear motion, program G0 X… Y… Z… A… B… C…, where all the axis words are
optional, except that at least one must be used. The G0 is optional if the current motion mode is
G0. This will produce coordinated linear motion to the destination point at the current traverse
rate (or slower if the machine will not go that fast). It is expected that cutting will not take place
when a G0 command is executing.
3.5.2 Linear Motion at Feed Rate — G1
For linear motion at feed rate (for cutting or not), program G1 X… Y… Z… A… B… C…,
where all the axis words are optional, except that at least one must be used. The G1 is optional if
the current motion mode is G1. This will produce coordinated linear motion to the destination
point at the current feed rate (or slower if the machine will not go that fast).
3.5.4 Dwell — G4
For a dwell, program G4 P… . This will keep the axes unmoving for the period of time in seconds
specified by the P number.
3.5.7 Length Units — G20 and G21
Program G20 to use inches for length units. Program G21 to use millimeters.
It is usually a good idea to program either G20 or G21 near the beginning of a program before any
motion occurs, and not to use either one anywhere else in the program. It is the responsibility of
the user to be sure all numbers are appropriate for use with the current length units.
3.5.12 Move in Absolute Coordinates — G53
For linear motion to a point expressed in absolute coordinates, program G1 G53 X… Y… Z…
A… B… C… (or use G0 instead of G1), where all the axis words are optional, except that at least
one must be used. The G0 or G1 is optional if it is the current motion mode. G53 is not modal and
must be programmed on each line on which it is intended to be active. This will produce
coordinated linear motion to the programmed point. If G1 is active, the speed of motion is the
current feed rate (or slower if the machine will not go that fast). If G0 is active, the speed of
motion is the current traverse rate (or slower if the machine will not go that fast).
3.5.19 Set Feed Rate Mode — G93 and G94
Two feed rate modes are recognized: units per minute and inverse time. Program G94 to start the
units per minute mode. Program G93 to start the inverse time mode.
In units per minute feed rate mode, an F word (no, not
that F word; we mean
feedrate) is
interpreted to mean the controlled point should move at a certain number of inches per minute,
millimeters per minute, or degrees per minute, depending upon what length units are being used
and which axis or axes are moving.
In inverse time feed rate mode, an F word means the move should be completed in [one divided
by the F number] minutes. For example, if the F number is 2.0, the move should be completed in
half a minute.
When the inverse time feed rate mode is active, an F word must appear on every line which has a
G1, G2, or G3 motion, and an F word on a line that does not have G1, G2, or G3 is ignored. Being
in inverse time feed rate mode does not affect G0 (rapid traverse) motions. It is an error if:
• inverse time feed rate mode is active and a line with G1, G2, or G3 (explicitly or
implicitly) does not have an F word.
This is part of the sample Gcode for a little box that came with my Anet A8 Prusa i3 3D Printer.
Code:
M140 S50.000000  ;?? M140 S0 is heated bed heater off
M109 T0 S200.000000   ;Extruder heater
T0
M190 S50.000000   ;heated bed heater on. 50% or degrees centigrade?
;Sliced at: Thu 07-07-2016 18:12:19
;Basic settings: Layer height: 0.2 Walls: 1.2 Fill: 15
;Print time: #P_TIME#
;Filament used: #F_AMNT#m #F_WGHT#g
;Filament cost: #F_COST#
;M190 S50 ;Uncomment to add your own bed temperature line
;M109 S200 ;Uncomment to add your own temperature line
G21        ;metric values. Program G20 to use inches for length units.
G90        ;absolute positioning
M107       ;start with the fan off. I think M106 S38 is Fan on, speed 38
G28 X0 Y0  ;move X/Y to min endstops
G28 Z0     ;move Z to min endstops
G1 Z15.0 F3000 ;move the platform down 15mm.   F3000 is the feed speed
G92 E0                  ;zero the extruded length
G1 F200 E3              ;extrude 3mm of feed stock.   E is extruder feed
G92 E0                  ;zero the extruded length again
G1 F3000
;Put printing message on LCD screen
M117 Printing...

;Layer count: 60
;LAYER:0
M107       ;start with the fan off. I think M106 S38 is Fan on, speed 38
G0 F3000 X60.80 Y76.30 Z0.20  ;Move fast to this start position.
;TYPE:SKIRT
G1 F1200 X159.20 Y76.30 E3.27280 ;Extruding to this position.
G1 X159.20 Y143.70 E5.51446      ;Extruding to this position.
G1 X60.80 Y143.70 E8.78726
G1 X60.80 Y76.30 E11.02893
G1 F2400 E7.52893
G0 F3000 X65.00 Y80.50
;TYPE:WALL-INNER
G1 F2400 E11.02893
G1 F1200 X155.00 Y80.50 E14.02234
G1 X155.00 Y139.50 E15.98462
G1 X65.00 Y139.50 E18.97803
G1 X65.00 Y80.50 E20.94031
G0 F3000 X64.60 Y80.10
G1 F1200 X155.40 Y80.10 E23.96034
G1 X155.40 Y139.90 E25.94922
G1 X64.60 Y139.90 E28.96925
G1 X64.60 Y80.10 E30.95813
G0 F3000 X64.20 Y79.70
;TYPE:WALL-OUTER
G1 F1200 X155.80 Y79.70 E34.00476
G1 X155.80 Y140.30 E36.02026
G1 X64.20 Y140.30 E39.06689
G1 X64.20 Y79.70 E41.08239
G0 F3000 X65.14 Y80.70


;LAYER:1
M106 S38     ;Turn fan on?  S is speed
G0 F3000 X155.00 Y80.50 Z0.40


;LAYER:59
G0 X155.00 Y139.50 Z12.00  ; Z is at 12mm
;TYPE:WALL-INNER
G1 F1800 X155.00 Y80.50 E7604.40498  ; etc.
;TYPE:WALL-OUTER

G1 F1800 X154.20 Y81.30 E7643.89847
G1 X65.80 Y81.30 E7646.83125
G1 X65.80 Y138.70 E7648.73547
G1 X154.20 Y138.70 E7651.66825
G0 F3000 X154.20 Y139.00
G0 X155.50 Y140.09
G0 X155.80 Y140.30
G1 F1800 X64.20 Y140.30 E7654.70733
G1 X64.20 Y79.70 E7656.71785
G1 X155.80 Y79.70 E7659.75693
G1 X155.80 Y140.30 E7661.76746
G0 F3000 X154.80 Y139.30
M107
G1 F2400 E7658.26746
G0 F3000 X154.80 Y139.30 Z17.00
;End GCode
M104 S0       ;extruder heater off
M140 S0       ;heated bed heater off (if you have it)
G91           ;relative positioning
G1 E-1 F300   ;retract the filament a bit before lifting the nozzle, to release some of the pressure
G1 Z+0.5 E-5 X-20 Y-20 F3000 ;move Z up a bit and retract filament even more
G28 X0 Y0      ;move X/Y to min endstops, so the head is out of the way
M84            ;steppers off
G90            ;absolute positioning
I have never written Gcode this way so it may not work but might be worth a try as a starting point. Except for the G1 instructions, this may not work on your printer. You will probably have to change the s value on the fan wire to operate your solenoid. You may find a repeat instruction that would save a lot of copy & paste.
Save it as a text file and rename it VacLift.gcode
Code:
G21       ;metric values. Program G20 to use inches for length units.
G90       ;absolute positioning
M107      ;start with the fan off. Solenoid off vac on tube.
G1 F3000 Z0.00 ;move the vac tube to zero.  F3000 is the feed speed
G4 P2000 ; Pause 2 seconds.
G1 F3000 Z25.00 ;move the vac tube up to 25mm.
G4 P2000 ; Pause 2 seconds. to put tray in place.
M106 S255 ; PWM value S0 - 255 Solenoid on, release part.
G4 P2000 ; Pause 2 seconds. to get tray away.
G1 F3000 Z0.00 ;move the vac tube to zero.  Touch the part.
M107      ;Solenoid off vac on tube to grab part.
G4 P2000 ; Pause 2 seconds.
G1 F3000 Z25.00 ;move the vac tube up to 25mm.
G4 P2000 ; Pause 2 seconds. to put tray in place.
M106 S255 ; Solenoid on, release part.
G4 P2000 ; Pause 2 seconds to get tray away.
G1 F3000 Z0.00 ;move the vac tube to zero.  Touch the part.
M107      ;Solenoid off vac on tube to grab part.
G4 P2000 ; Pause 2 seconds.
G1 F3000 Z25.00 ;move the vac tube up to 25mm.
G4 P2000 ; Pause 2 seconds. to put tray in place.
M106 S255 ;Fan on, Solenoid on, release part.
G4 P2000 ; Pause 2 seconds. to get tray away.
G1 F3000 Z0.00 ;move the vac tube to zero.  Touch the part.

")
