Continue to Site

Welcome to our site!

Electro Tech is an online community (with over 170,000 members) who enjoy talking about and building electronic circuits, projects and gadgets. To participate you need to register. Registration is free. Click here to register now.

  • Welcome to our site! Electro Tech is an online community (with over 170,000 members) who enjoy talking about and building electronic circuits, projects and gadgets. To participate you need to register. Registration is free. Click here to register now.

Need a good project board or box

Status
Not open for further replies.

Hacdrag

Member
I'm making a speaker project with a few amplifier boards, some terminal block connectors, and a preamp module. A bunch of splitters and 3.5 mm audio cables will take up most of the rest of the space. I've made stuff like this before by screwing the modules into a wood board and securing the 16 gauge wire with these plastic things (I can't remember what these things are called) that surround it after I hammer them into the board.

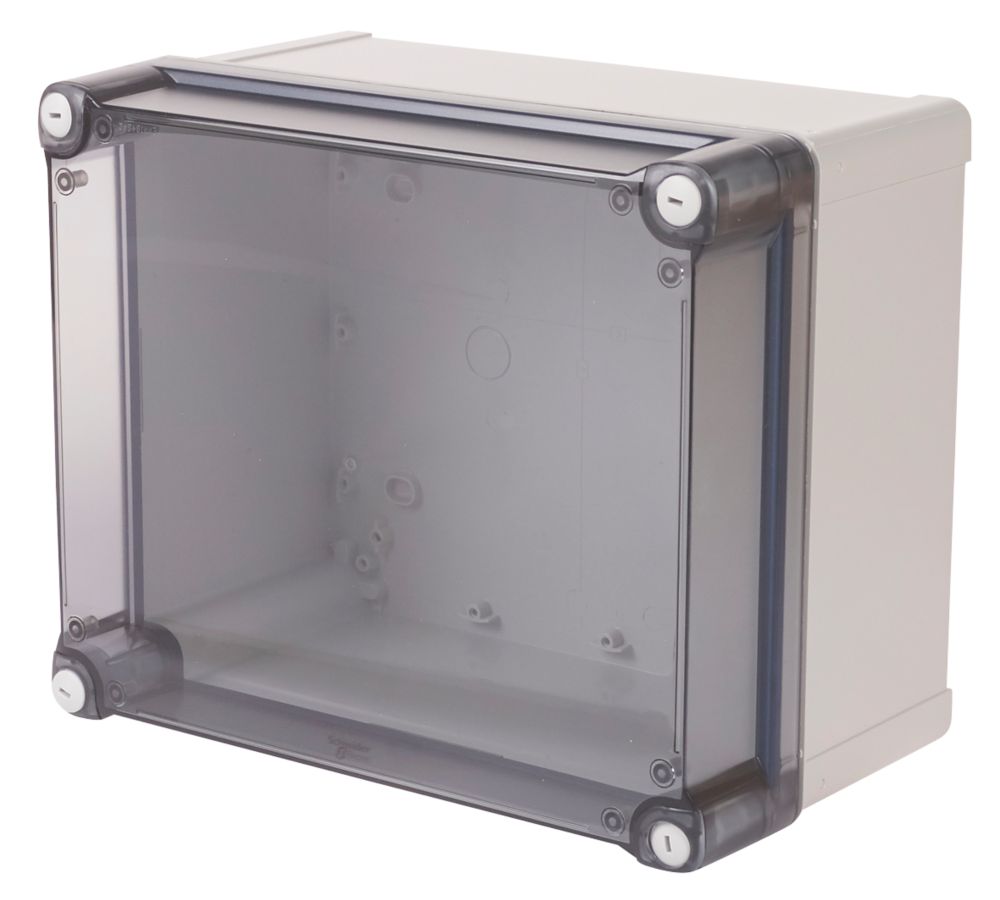
The system is workable, but I'm looking for something more organized. I do like the openness of the wood board, as I like to look at my work while listening to the audio output and was wondering whether there is a recommended alternative open solution. If I end up enclosing the project, it would be nice to have the volume control knobs and the battery holders outside the box.

What do you experienced folks recommend?
 
Just look for "Electronics enclosure" or "Amplifier chassis" or "Electronics instrument cased" on electronics suppliers sites, ebay, amazon etc.
There are thousands of different types, depending on what overall size you need?

If you want it to look good, normally you would drill the front and rear panels for controls and connectors.

eg. Something like this may be suitable?

Those are very lightweight and rather flimsy material, but pretty good for the price.

This is a higher quality example:

Or more high-end styles


Or if you just want to keep everything enclosed and appearance is not too important, an electrical wall box or junction boy style, which are relatively cheap for a fairly large enclosure??
 
I use either brass or plastic spacer pillars.
You can also use just long screws through from the outside of the box, with a nut to lock it in place then more nuts higher up to rest the item on and clamp in solid.

To get the holes accurate, hold the board or module in place inside the box then spin a drill bit through each hole using your fingers, to put a centre mark on the enclosure base or wall.

Some electrical enclosures have screw bosses built in that you may be able to use.

You can use self-adhesive cable tie bases to fix wiring in place, or "harness" them with ties or lacing cord, as long as you do not have high voltage or high power mixed with small signal wires - they should be kept well apart.

IMG_6494.jpg


This is a control box for one of my 3D printers; it shows cable harnessing with different bundles for different power and signal wiring, and the threaded spacers supporting the boards:

IMG_6495.jpg


IMG_6496.jpg


The case type that is in would be quite nice for audio gear - a Takachi YM series, 400mm x 250mm; the same style is available in multiple sizes down to 50mm wide.


rjenkinsgb
I use either brass or plastic spacer pillars.
You can also use just long screws through from the outside of the box, with a nut to lock it in place then more nuts higher up to rest the item on and clamp in solid.

To get the holes accurate, hold the board or module in place inside the box then spin a drill bit through each hole using your fingers, to put a centre mark on the enclosure base or wall.

Some electrical enclosures have screw bosses built in that you may be able to use.

You can use self-adhesive cable tie bases to fix wiring in place, or "harness" them with ties or lacing cord, as long as you do not have high voltage or high power mixed with small signal wires - they should be kept well apart.

View attachment 136762


This is a control box for one of my 3D printers; it shows cable harnessing with different bundles for different power and signal wiring, and the threaded spacers supporting the boards:

View attachment 136763

View attachment 136764

The case type that is in would be quite nice for audio gear - a Takachi YM series, 400mm x 250mm; the same style is available in multiple sizes down to 50mm wide.


Many thanks. Nothing more than 12 V is going through any of the wiring, so it can all be bundled together.
 
One option instead of many screws through the enclosure is to mount a "back panel" in the enclosure with a screw in each corner (many enclosures have bosses to do this), and mount the various modules to the back panel.

This looks neater than a bunch of holes in the enclosure, lets you remove the modules as a group on the back panel, and makes it easier to add or move modules.
 
Nothing more than 12 V is going through any of the wiring, so it can all be bundled together.
That fine, just avoid putting small signal wires like amplifier inputs together with the amp outputs or power, as that can cause distortion or feedback.

One option instead of many screws through the enclosure is to mount a "back panel" in the enclosure with a screw in each corner (many enclosures have bosses to do this), and mount the various modules to the back panel.
Good idea; a lot of the industrial style wallboxes either come with a chassis plate or have one available as an accessory.
 
rjenkinsgb

Many thanks. Nothing more than 12 V is going through any of the wiring, so it can all be bundled together.
Not quite true.

You don't want to run your low level (ie. preamp input) and high level (ie. speaker output) signals near each other. There are other signals that should be kept apart to avoid noise coupling.
 
I bought a bunch of "self adhesive standoffs" absolutely love them for populating a empty enclosure. pop them into your boards mounting holes, peel the backing and stick. They stick surprisingly well... had to fight with a few to get them to unstick.

 
Nice solution! Especially if you're mounting a bunch of modules with different hole spacings.
 
Getting closer to fruition. :)

Do any of these boxes come with pre-built holes in the side so I can run speaker wire and wire from an AC adapter or battery connector leads? I'm probably going to end up drilling holes anyway as I'd like the volume control knobs on the outside, but I want to know my options.
 
Predrilled holes? Probably not.

Some enclosures have removable panels like the one pictured. You can take it out to drill, or, if the thickness it correct, laser-cut a piece of acrylic to put in its place with whatever holes you want.


SmartSelect_20220505-123722_Edge.jpg
 
Predrilled holes? Probably not.

Some enclosures have removable panels like the one pictured. You can take it out to drill, or, if the thickness it correct, laser-cut a piece of acrylic to put in its place with whatever holes you want.
Or use a small router to thin the rear edge of the acrylic, so it fits in the existing slot - you can use a Dremel in a drill stand, and a simple wooden guide to do this. I've used it where I've stuck a laminated label on the front, which means it won't then fit the slot.
 
I purchased this:


I also ordered a bunch of these to secure the amp boards to the bottom of the case - https://www.digikey.com/en/products/detail/keystone-electronics/9081/4499381

Thanks! StudentSA

I've attached a picture of my project and the inside of the box. I didn't like the passive preamp and am leaving it out of this project.

I need a little advice on the best placement for everything. I need to drill holes, so the potentiometer/volume control knobs sit on the outside of the box. I think my picture is the best solution, since I can't figure out how else to get the knobs near each other. I also need to drill a hole for the speaker wire, and the AC adaptor wires. I'm probably going to leave the box closed and unscrewed most of the time and will just drop in a long Micro USB cable in when I need to charge the Bluetooth receiver. I could also just disconnect it and charge it outside of the box. Alternatively, I could just always leave a Micro USB cable in the Bluetooth receiver and only connect it to a charger when necessary. This would require an opening of the charger as well. I could also drill an opening and have the Bluetooth receiver on the outside of the box.

I didn't put the boards together. They are prefabricated - https://www.parts-express.com/Low-Voltage-Mono-Audio-Amplifier-Board-NJM386D-LM386-320-612

The circuit works - I've used it. I pair a sound source with a Bluetooth transmitter, and then pair the transmitter with this Bluetooth receiver. I send ground and the left channel from one of the terminal block panel mount connectors to one amp and ground and the right channel from the other terminal block mount connector goes to the other amp, and I connect two speakers accordingly.

I had everything working with the components fastened to a wood board, but the spacing was random and it wasn't pretty. I purchased the project box for neatness. With that in mind, I want to plan the component spacing with the purpose of having neat wiring. With these amp modules, (as shown) the power goes to the right of the potentiometer knob, the input to the left, and the output to the back.

Now that I've given the complete picture, what's the best or a recommended layout of my components inside the box, and where should I drill holes for the speaker wire and AC power wires. In addition, I could probably just leave the splitter, the 3.5 mm male to male cables, and the terminal block mount connectors unsecured, but is there a recommended neat way to fasten them?

I'm fully aware there are stereo amps, and much more powerful ones than these LM386 based modules. :) I originally put this "hack" together as a proof of concept and had fun making a stereo system from two mono boards. I originally used 9-volt batteries but will now be using a 12 V wall adaptor as a common power source.
IMG_9354.JPG
IMG_9357.JPG
 
Last edited:
Status
Not open for further replies.

New Articles From Microcontroller Tips

Back
Top