Warning up front - this is a basic show-and-tell post...and long at that.

A couple of years ago, I investigated some . These disks transmit temperature and humidity measurements in the beacon advertisement. While about the size of a US quarter, they include a solar cell and a storage capacitor and can also be attached to a coin cell battery.
I built an to use them which utilized an HM-10/11 BLE board and a 16 X 4 display . That project worked fine, but I had it in my head to make it better. While the HM-10/11 has its place, I find them tedious to say the least. I was anxious to use better BLE firmware that was not anchored to that serial protocol mess.
At the time, off-the-shelf boards for this sort of thing were not common or inexpensive. Remember, to use the beacons as I am describing, you need to have a central BLE device capability. The Arduino 101, after they advanced the firmware, fit the bill nicely, but around this time, it was dumped by Intel.
Since then, I have been impressed by the Linkit 7697, but I wanted a reason to get into BLE with the ESP32. Consequently, I used an inexpensive DOIT Esp32 DevKit v1 for the current project.
I used a .47 uf capacitor from EN to GND. I read about this somewhere online and took the recommendation and it makes uploading code smoother. There is a .1 uf cap across 5V and GND. Two pullup resistors for the I2C (see below) and LCD display - that is the circuit.
I used a standard/generic 20 X 4 LCD display with an I2C board (PCF8574) slapped on – these are all over the place. I used the standard hardware I2C pins for the ESP32 - GPIO 22 (SCL) and GPIO 21 (SDA). There is quite a lot of discussion about whether the ESP32 has 5V tolerant pins. I did not care to use any level converters, so I tried two things. First, I used 4.7K pull ups via 3.3V, and the display worked just fine. I also used those same pullups via 5V and the display also worked fine. Here is a good discussion about the matter.
The display uses 5V and I used 3.3V pull ups on the I2C lines and it works and it has been tested extensively. I am not completely comfortable with this, but it may simply be that the PCF8574 works with 3.3v/5v signals. Since I built this as a personal project, I am not overly concerned.

The program was written while the circuit was on a breadboard. Once I had the code worked out, I started to think about an enclosure. This is a sensitive area for me as I am woefully deficient and making such items. I would like to get better, but I am not going to go get a 3D printer anytime soon, so I am trying to develop a few basic skills with a few basic tools (I like my Dremel).
I looked around and found **broken link removed** specifically for a 4 X 20 LCD and an Arduino (UNO or Mega) . It looked good, so I bought one. This is not a trivial assembly – it is almost entirely tongue and groove or friction fit or slots or whatever you call it….you need to read the directions carefully and they are extensive (see here ). Nevertheless, my hat is off to this fellow, he designed a nice enclosure.
I then moved the ESP32 off of the breadboard and onto a circuit board cut to the dimensions of a Mega and with those same mounting holes.

Everything fit and everything works and I am happy.

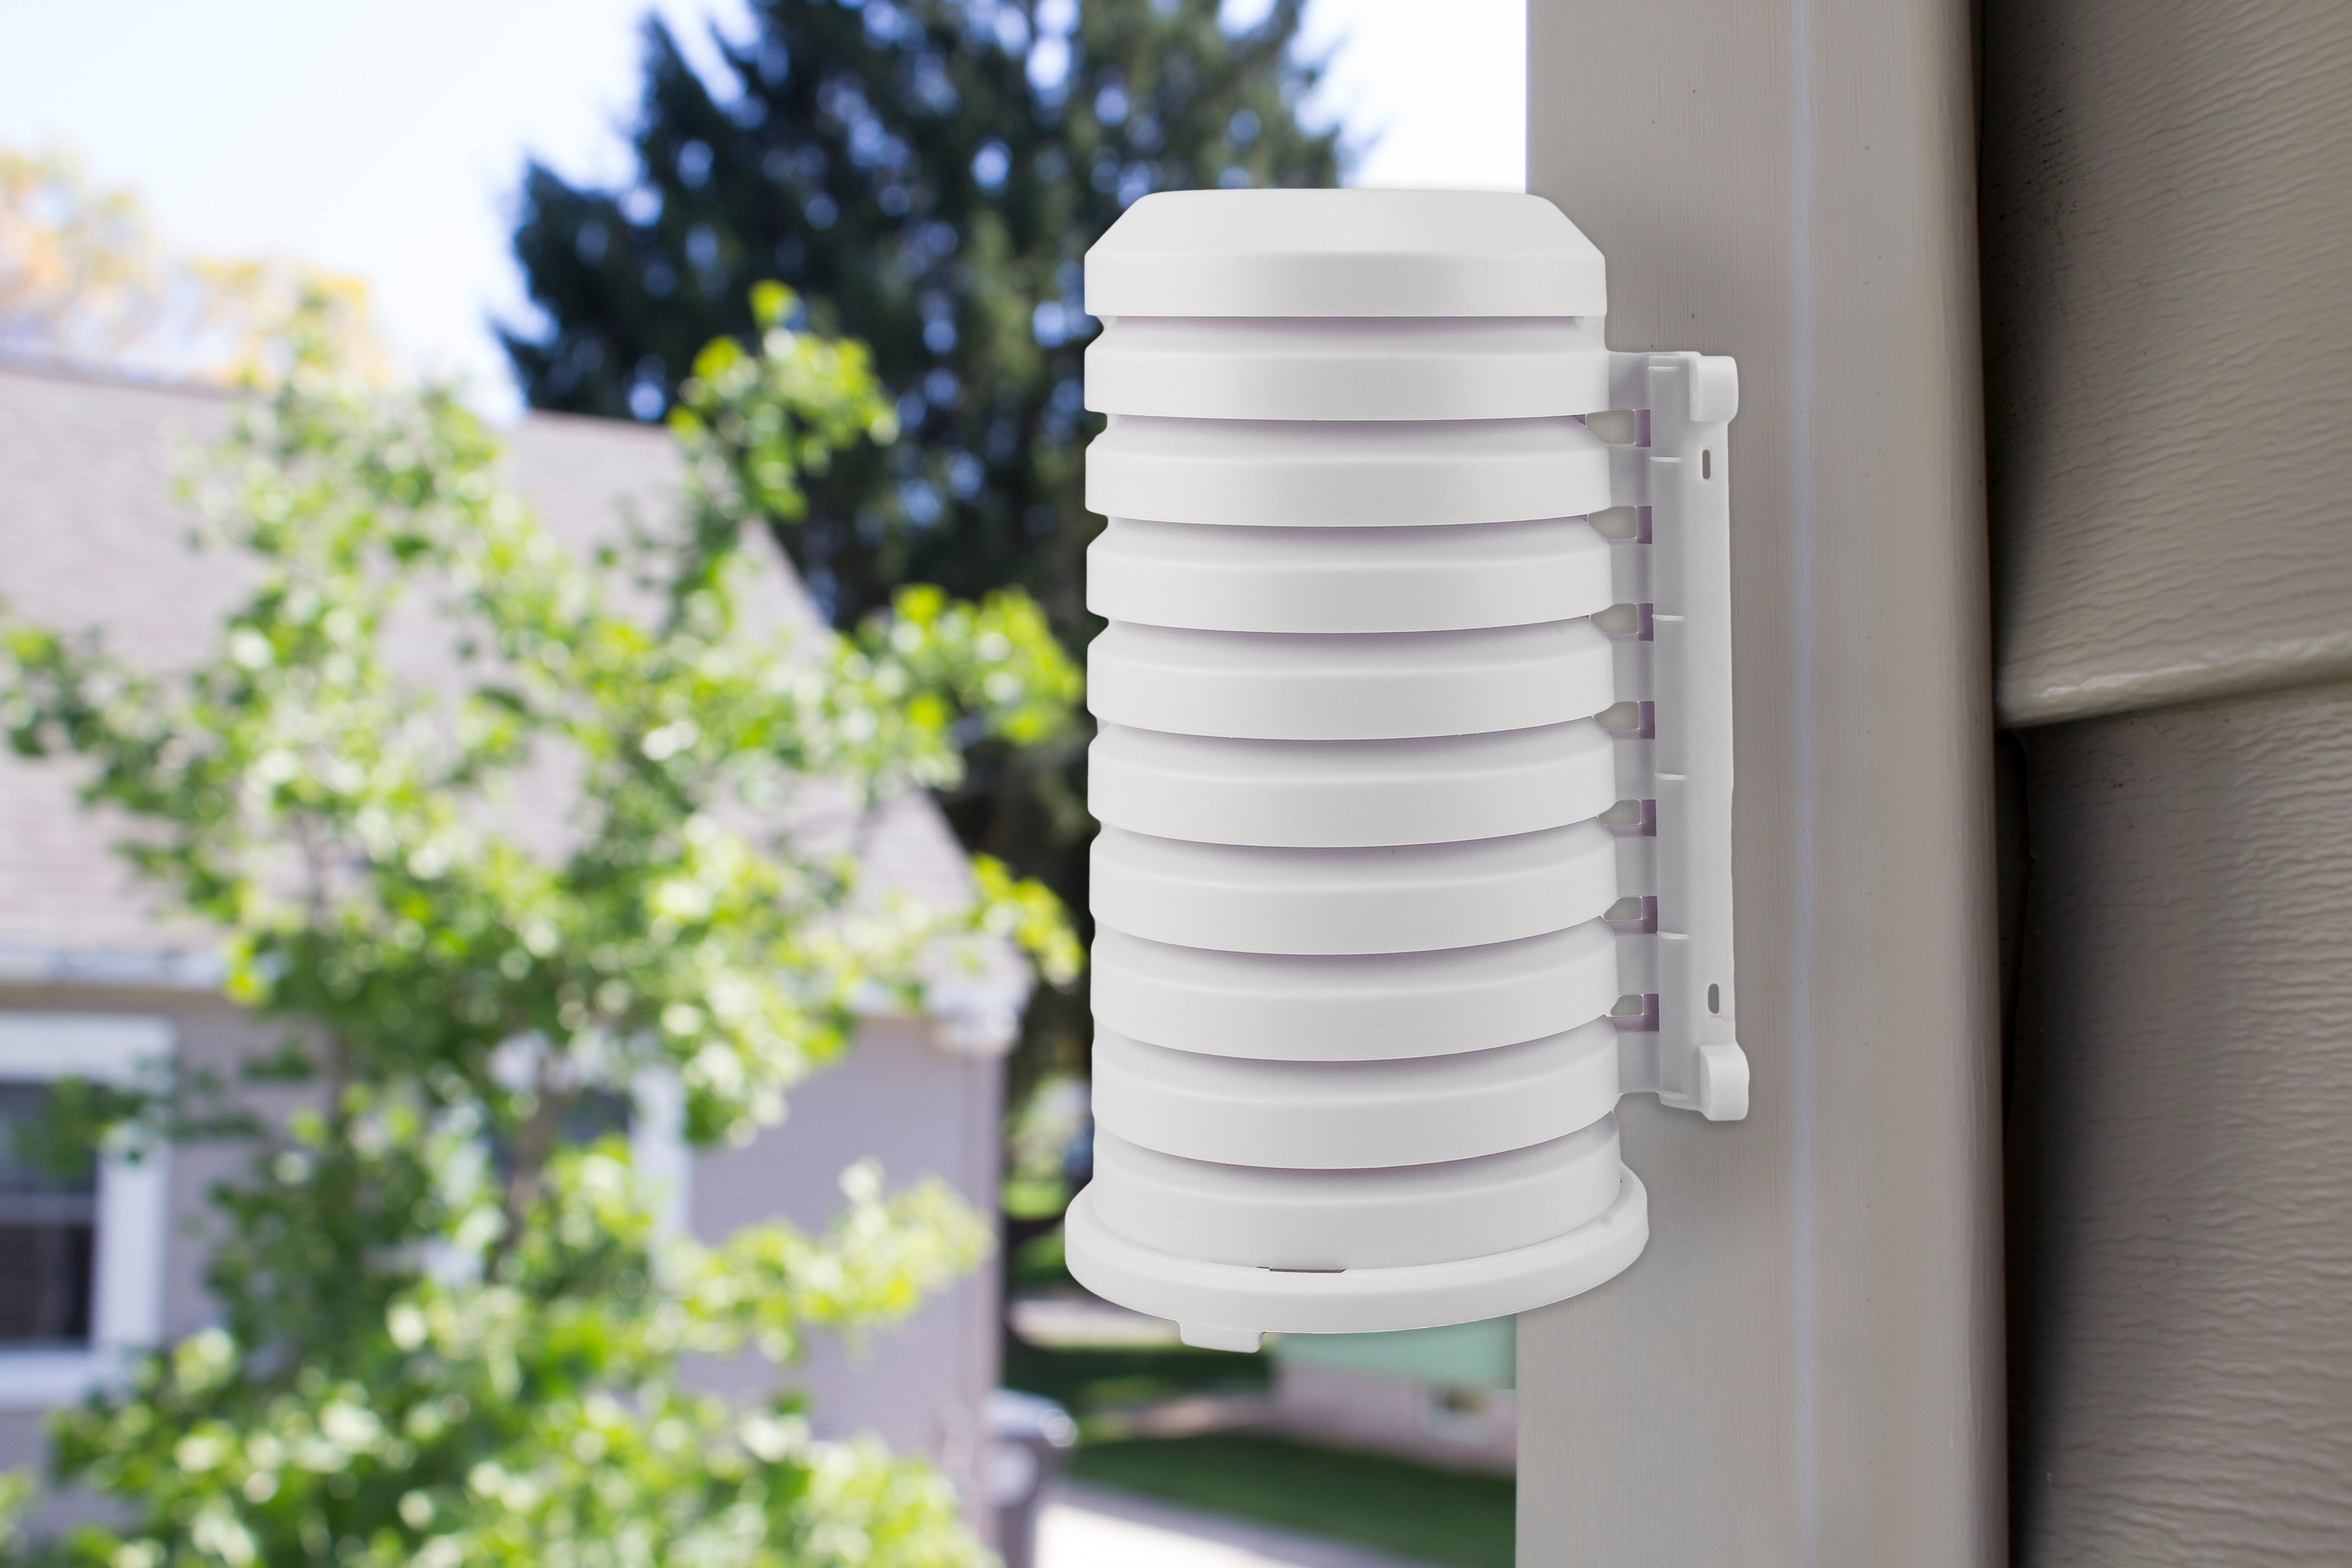
I have to mount batteries on two solar beacons and I have my eye on something like a Stevenson cage for outdoor monitoring. These beacons are not for outdoor use, but, I have used them outdoors, in enclosures – with one fatality [see that 100% humidity on the screen? I drenched that sensor long ago and it is not coming back – and, yes, I know about baking].
If anyone is interested, I can post the code (Arduino-ESP32-C).
Now, on to the next thing
A couple of years ago, I investigated some . These disks transmit temperature and humidity measurements in the beacon advertisement. While about the size of a US quarter, they include a solar cell and a storage capacitor and can also be attached to a coin cell battery.
I built an to use them which utilized an HM-10/11 BLE board and a 16 X 4 display . That project worked fine, but I had it in my head to make it better. While the HM-10/11 has its place, I find them tedious to say the least. I was anxious to use better BLE firmware that was not anchored to that serial protocol mess.
At the time, off-the-shelf boards for this sort of thing were not common or inexpensive. Remember, to use the beacons as I am describing, you need to have a central BLE device capability. The Arduino 101, after they advanced the firmware, fit the bill nicely, but around this time, it was dumped by Intel.
Since then, I have been impressed by the Linkit 7697, but I wanted a reason to get into BLE with the ESP32. Consequently, I used an inexpensive DOIT Esp32 DevKit v1 for the current project.
I used a .47 uf capacitor from EN to GND. I read about this somewhere online and took the recommendation and it makes uploading code smoother. There is a .1 uf cap across 5V and GND. Two pullup resistors for the I2C (see below) and LCD display - that is the circuit.
I used a standard/generic 20 X 4 LCD display with an I2C board (PCF8574) slapped on – these are all over the place. I used the standard hardware I2C pins for the ESP32 - GPIO 22 (SCL) and GPIO 21 (SDA). There is quite a lot of discussion about whether the ESP32 has 5V tolerant pins. I did not care to use any level converters, so I tried two things. First, I used 4.7K pull ups via 3.3V, and the display worked just fine. I also used those same pullups via 5V and the display also worked fine. Here is a good discussion about the matter.
The display uses 5V and I used 3.3V pull ups on the I2C lines and it works and it has been tested extensively. I am not completely comfortable with this, but it may simply be that the PCF8574 works with 3.3v/5v signals. Since I built this as a personal project, I am not overly concerned.
The program was written while the circuit was on a breadboard. Once I had the code worked out, I started to think about an enclosure. This is a sensitive area for me as I am woefully deficient and making such items. I would like to get better, but I am not going to go get a 3D printer anytime soon, so I am trying to develop a few basic skills with a few basic tools (I like my Dremel).
I looked around and found **broken link removed** specifically for a 4 X 20 LCD and an Arduino (UNO or Mega) . It looked good, so I bought one. This is not a trivial assembly – it is almost entirely tongue and groove or friction fit or slots or whatever you call it….you need to read the directions carefully and they are extensive (see here ). Nevertheless, my hat is off to this fellow, he designed a nice enclosure.
I then moved the ESP32 off of the breadboard and onto a circuit board cut to the dimensions of a Mega and with those same mounting holes.
Everything fit and everything works and I am happy.
I have to mount batteries on two solar beacons and I have my eye on something like a Stevenson cage for outdoor monitoring. These beacons are not for outdoor use, but, I have used them outdoors, in enclosures – with one fatality [see that 100% humidity on the screen? I drenched that sensor long ago and it is not coming back – and, yes, I know about baking].
If anyone is interested, I can post the code (Arduino-ESP32-C).
Now, on to the next thing
") ).
).