B Foulk
New Member
I'm new to the world of electronics and circuitry, but I am familiar enough to learn with help. Thank you in advance for any assistance.
the end result - use an on/off switch for constant power to the LED; then with the push on a momentary button, cycle through seven LEDs. When the unit is powered off and then powered back on, the unit will need to light the same LED that was on prior to switching off the unit.
the reason - I have an emergency strobe light system installed in my truck (its a cheapo from amazon), but works well. It has 7 flash patterns, and utilizes an on/off switch combined with a momentary button that cycles through the patterns. Alas, I have no way of knowing which pattern is selected or how to get to a particular pattern.
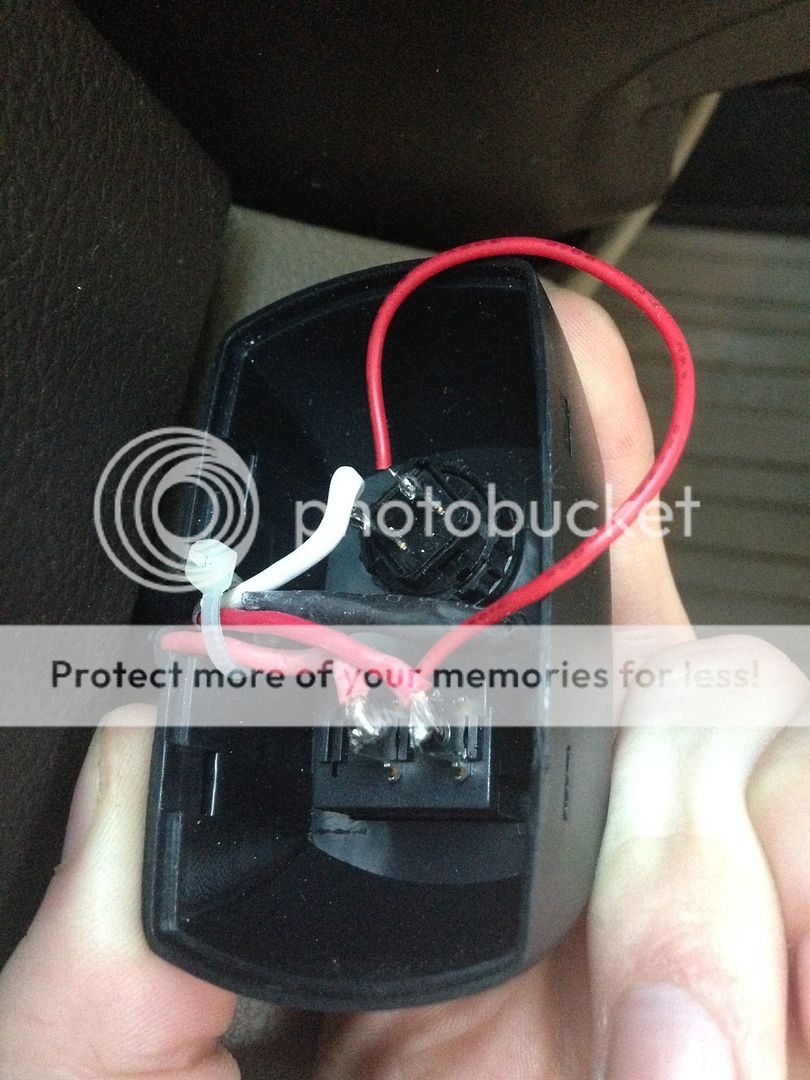
I would prefer to not open the main control module and tap into it's circuitry
the end result - use an on/off switch for constant power to the LED; then with the push on a momentary button, cycle through seven LEDs. When the unit is powered off and then powered back on, the unit will need to light the same LED that was on prior to switching off the unit.
the reason - I have an emergency strobe light system installed in my truck (its a cheapo from amazon), but works well. It has 7 flash patterns, and utilizes an on/off switch combined with a momentary button that cycles through the patterns. Alas, I have no way of knowing which pattern is selected or how to get to a particular pattern.
I would prefer to not open the main control module and tap into it's circuitry
")